
Introduction
The Ninja Ultimate Blender is a powerful and versatile appliance that allows you to blend, puree, and process a wide variety of ingredients. Whether you want to make smoothies, sauces, soups, or other culinary creations, the Ninja Ultimate Blender provides the functionality and convenience you need. In this guide, we will provide a step-by-step tutorial on how to use the Ninja Ultimate Blender, ensuring that you can make the most of this powerful kitchen tool.
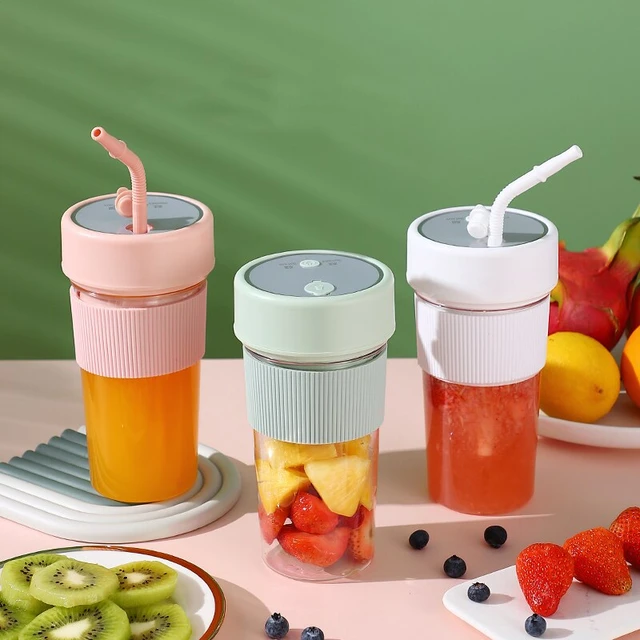
How do you use the Ninja Ultimate blender?
Assembling the Ninja Ultimate Blender
1.1. Unpack the Components
Carefully unpack the Ninja Ultimate Blender and familiarize yourself with the different components. The package usually includes the base, pitcher or cups, lids, blades, and any additional attachments or accessories.
1.2. Place the Base on a Stable Surface
Find a stable and level surface in your kitchen to place the base of the Ninja Ultimate Blender. Ensure that there is enough space for the blender to operate safely and that the power cord can reach a nearby electrical outlet.
1.3. Attach the Pitcher or Cup
Depending on the recipe or desired serving size, attach the appropriate pitcher or cup to the base. The pitcher is typically used for larger quantities, while the cups are ideal for single servings or personal use. Align the pitcher or cup with the base, ensuring that it locks securely into place.
1.4. Attach the Blades
Insert the blades into the pitcher or cup, aligning the notches on the blades with the corresponding slots. Push the blades down firmly until they are securely in place.
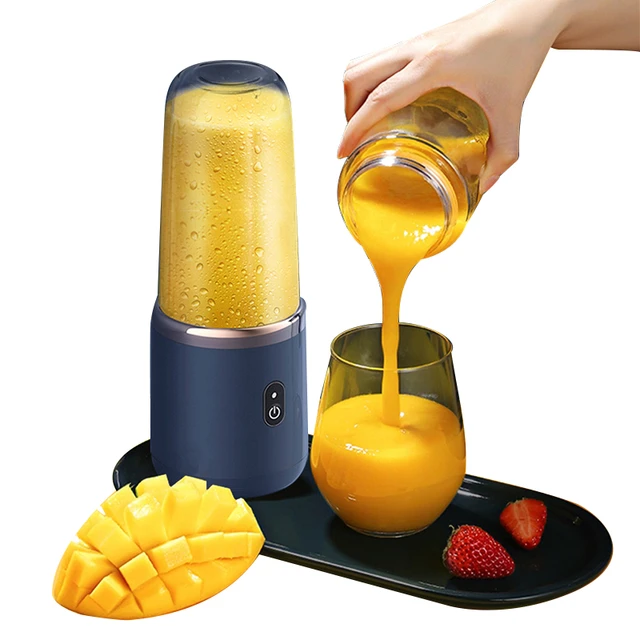
Preparing Ingredients
2.1. Wash and Prepare Ingredients
Before using the Ninja Ultimate Blender, ensure that all ingredients are properly washed, peeled, and prepared according to the recipe. Remove any pits, stems, or tough parts as necessary.
2.2. Cutting Ingredients
For larger ingredients or those with tough textures, such as fruits or vegetables, it may be necessary to cut them into smaller pieces to ensure smooth blending. Cut the ingredients into manageable sizes that can easily fit into the pitcher or cups.
Using the Ninja Ultimate Blender
3.1. Adding Ingredients
Place the desired ingredients into the pitcher or cups of the Ninja Ultimate Blender. Be mindful not to exceed the maximum fill line indicated on the pitcher or cups to prevent overfilling or spillage during blending.
3.2. Selecting the Appropriate Speed or Program
The Ninja Ultimate Blender typically offers multiple speed settings or pre-set programs for different types of blending tasks. Choose the appropriate speed or program based on the recipe or desired consistency. For example, use a higher speed for smoothies or sauces and a lower speed for chopping or pulsing.
3.3. Blending Techniques
To blend ingredients using the Ninja Ultimate Blender, securely place the pitcher or cup with the ingredients onto the base. Ensure that the lid is securely in place before starting the blender. Depending on your model, the blender may have different controls and buttons. Follow the manufacturer’s instructions for your specific model to operate the blender correctly.
3.4. Pulse and Blend
To start the blending process, press the appropriate button or turn the dial to the desired speed. For certain recipes, such as sauces or salsas, pulsing the ingredients by quickly turning the blender on and off can help achieve the desired texture. For other recipes, blend continuously until the ingredients are smooth and well combined.

Adjusting Consistency and Texture
4.1. Checking Consistency
During the blending process, periodically check the consistency of the mixture by removing the lid and using a spatula or spoon to assess the texture. If necessary, scrape down the sides of the pitcher or cup with a spatula to ensure even blending.
4.2. Adding Liquid
If the mixture appears too thick or dry, you can add liquid gradually to achieve the desired consistency. Add small amounts of liquid, such as water, juice, or milk, and blend again until the mixture reaches the desired smoothness.
4.3. Adjusting Speed or Time
If the ingredients are not blending evenly or to the desired consistency, you can adjust the speed or time settings accordingly. Increase the speed or blend for a longer duration to further process the ingredients.
Serving and Cleaning
5.1. Serving the Prepared Mixture
Once the ingredients are blended to your satisfaction, carefully remove the pitcher or cup from the base. Remove the blades from the pitcher or cup by unscrewing them and transfer the mixture to serving containers, bowls, or glasses as desired.
5.2. Cleaning the Blender
After using the Ninja Ultimate Blender, disassemble the pitcher or cup, blades, and any other removable parts. Rinse them thoroughly with warm water and a mild detergent, or place them in the dishwasher if they are dishwasher safe. Wipe down the base of the blender with a damp cloth. Ensure that all components are completely dry before reassembling or storing the blender.
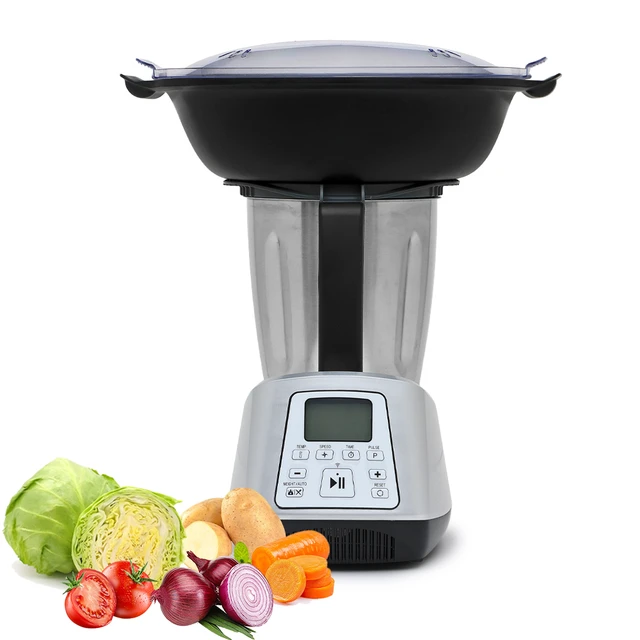
Additional Tips and Considerations
6.1. Ice and Frozen Ingredients
To blend ice or frozen ingredients, ensure that your Ninja Ultimate Blender model is designed to handle such ingredients. Some models come with specific settings or blades for crushing ice or processing frozen fruits. Check the user manual or manufacturer’s guidelines for recommendations on blending frozen ingredients.
6.2. Hot Ingredients
Exercise caution when blending hot liquids or ingredients. Some blenders, including the Ninja Ultimate Blender, are designed to handle hot ingredients. However, it is important to follow the manufacturer’s guidelines and allow hot ingredients to cool slightly before blending to prevent accidents or damage to the blender components.
6.3. Blending Small Quantities
When blending small quantities, such as spices, herbs, or nuts, it may be more effective to use the smaller cups or containers that come with the Ninja Ultimate Blender. This ensures that the ingredients are properly processed and blended.
6.4. Noise and Vibration
Blending can generate noise and vibration, especially when blending at high speeds. To reduce noise and prevent unnecessary movement, ensure that the pitcher or cups are securely placed on the base and that the lid is tightly sealed.
6.5. Safety Features
The Ninja Ultimate Blender is equipped with various safety features, such as a locking mechanism that prevents the blender from operating unless all components are correctly assembled. Familiarize yourself with these safety features and ensure that they are functioning properly before each use.
Exploring Recipes and Techniques
7.1. Recipe Inspiration
To fully utilize the capabilities of your Ninja Ultimate Blender, explore recipe books, online resources, or the manufacturer’s website for recipe inspiration. There are numerous recipes available for smoothies, soups, sauces, dips, and more. Trying out different recipes will help you discover the full potential of your blender.
7.2. Texture and Consistency
Experiment with blending techniques to achieve different textures and consistencies. For example, blending for a longer duration will result in a smoother texture, while pulsing can create a chunkier consistency. Adjusting the speed and duration will allow you to customize the final product according to your preferences.
7.3. Layered Blending
For recipes that require multiple ingredients or flavors, consider layering the ingredients in the pitcher or cups before blending. This technique allows you to achieve distinct layers and flavors in the final product.
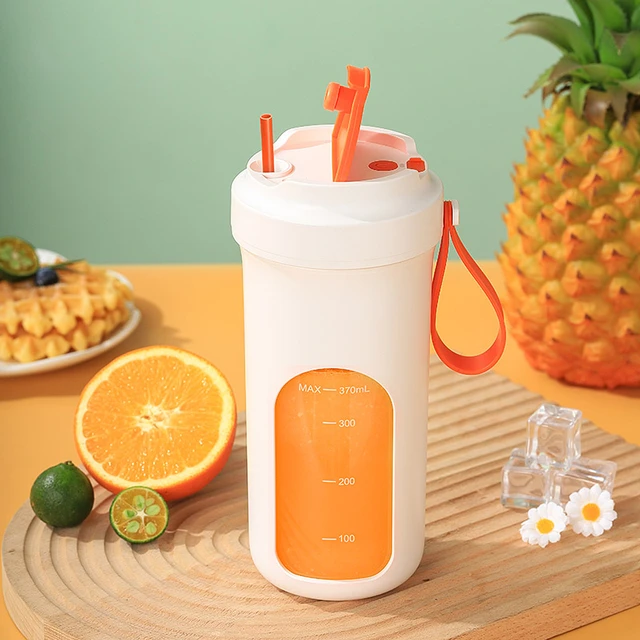
Conclusion
Using the Ninja Ultimate Blender is a simple and efficient process that allows you to create a wide range of culinary creations. By following the steps provided in this guide, you can assemble the blender, prepare the ingredients, and operate the blender to produce smooth and well-blended mixtures. Adjusting the speed, adding liquid as necessary, and periodically checking the consistency will help you achieve the desired texture and taste. Afterward, serving the mixture and cleaning the blender components will ensure a satisfying and convenient experience. With the Ninja Ultimate Blender, you can unleash your creativity in the kitchen and enjoy the versatility and power it offers.